The Web Extension Portal, or ChaseData CRM Sync Admin, is a tool for administrators to setup the authorization mechanisms for agents can link to a CRM when they use the ChaseData Chrome Extension. The Chrome extension itself can be downloaded and used by the agent without a CRM link, as long as the ChaseData Agent App/Client is running -that allows the agent to perform click-to-dial, but without the CRM link to the lead.
Click-to-dial gives an agent the ability to call any phone number on the web with a single click when browsing with Chrome. In addition, if authorization is provided through ChaseData CRM Sync Admin, the contact information is pulled from the lead’s profile in the corresponding CRM, as well.
To access the Web Extension Portal, you need to request the appropriate link and credentials from your admin or DialedIn representative.
The first thing you see when you log in is the Dashboard, where several tiles at the top show you token counts, as follows:.
Below the tiles you are presented with the list of tokens and the status and options, as follows:
There also list level actions to Add, Edit, and Delete tokens.
Refer to the following figure.

When you select the Edit action on a token, a popup window is shown, where you can review and/or change the token parameters. Refer to the following figure.

In a similar way, when you select to Add a token, a popup window is shown, where you can define those token parameters. Refer to the following figure.

In the Sessions list we can see currently active sessions and the token details associated with them, as follows:
Refer to the following figure.

In the Logs list we see administration activities that have taken place, as follows:
Refer to the following figure.

In Settings you can review or modify your user parameters, as follows:
You can also execute a Password Reset.
Refer to the following figure.

So far, we have looked at the Chrome Extension Portal, which is the administration part of this capability. But the actual usage of the ChaseData CRM Sync chrome extension occurs alongside the Agent app, and to be able to do that, the agent must have Agent app running and the ChaseData CRM Sync chrome extension installed in the corresponding browser.
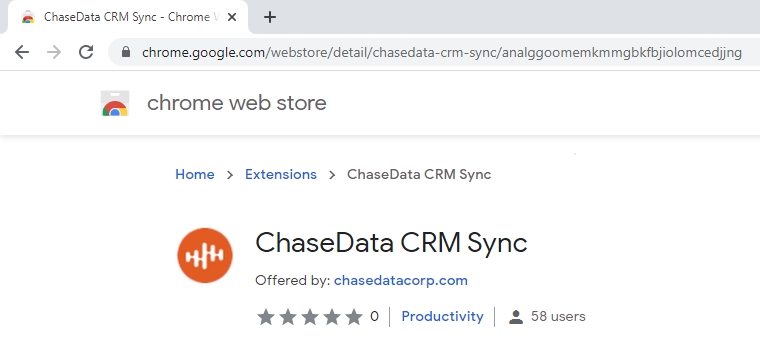
The ChaseData CRM Sync chrome extension is installed from the Chrome Web Store. As an aid to do so, the direct link to the extension in the Chrome Web Store is also provided from the Chrome Extension Portal. Refer to the following figures.


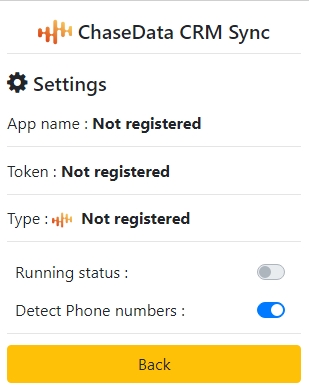
In order to use the ChaseData CRM Sync chrome extension, after it is installed, you should verify its settings through Google Chrome’s extension settings (assuming Google Chrome is the browser in use). Refer to the following figure.

When the ChaseData CRM Sync chrome extension is enabled and its settings accessed (and the DialedIn Agent app (formerly ChaseData) is running), you are able to see if a token is active or enabled, and also running.
The presence of a registered token indicates that an application link, e.g., a CRM, has been properly configured and enabled, so when a phone number is selected in a website with the intent to use the DialedIn system (formerly ChaseData) to initiate a call, it will link with the app or CRM to access any lead/customer information associated with that phone number.
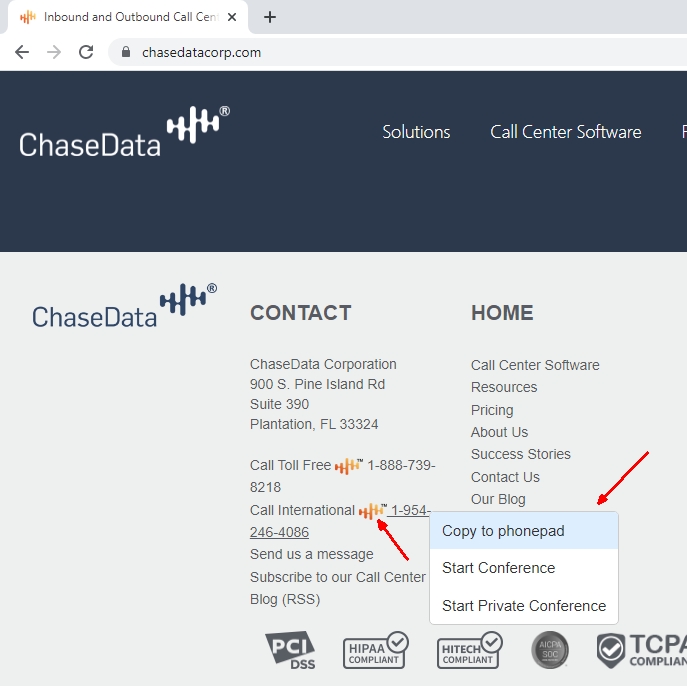
However, an application token is not necessary for a basic click-to-dial action on a phone number identified on the visited website. The phone number can still be clicked-dialed through the ChaseData Agent app, just that no CRM link will take effect through that action, as long as Detect Phone Numbers is enabled on the ChaseData CRM Sync chrome extension.
Refer to the following figure.
At this point, you can navigate a website and identified phone numbers will be marked by the ChaseData CRM Sync chrome extension, allowing you to access the context menu (right-click) to initiate a corresponding call through the ChaseData Agent app. Refer to the following figure.